 5-star Fitness
 5-star Fitness

Roll Your Muscle Pain Away in Minutes
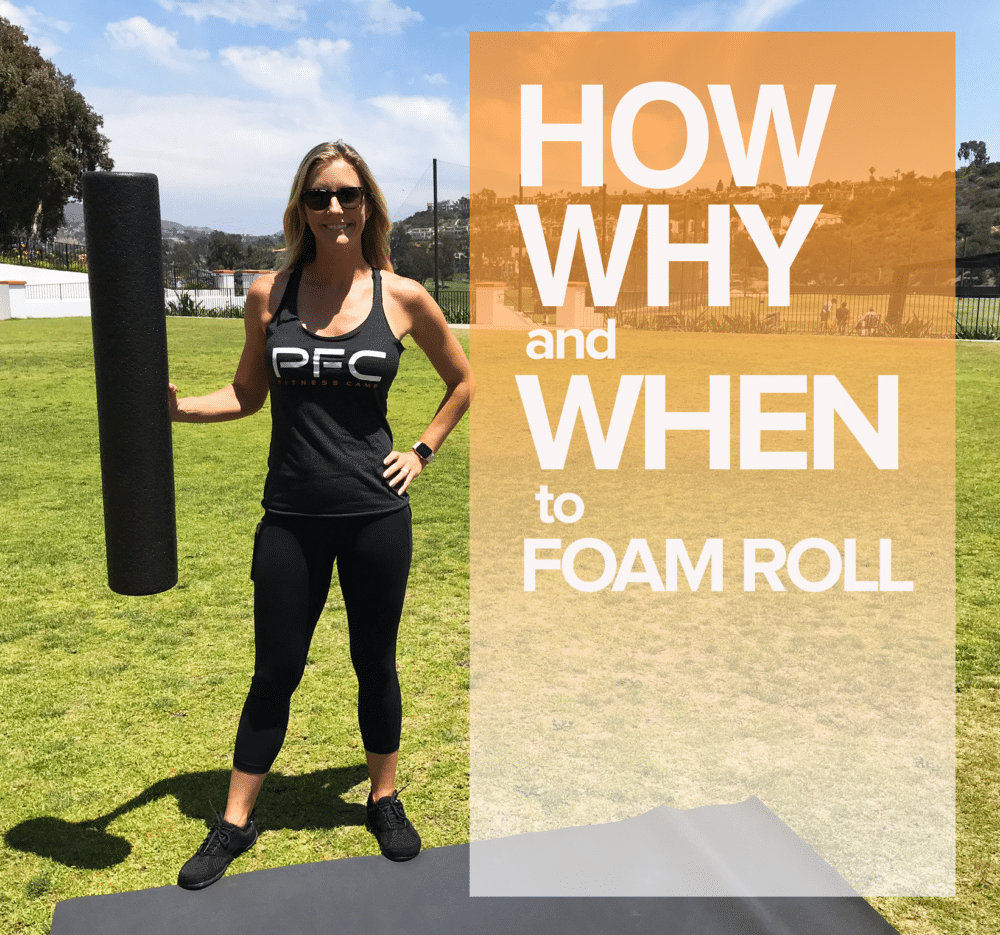
You’ve probably noticed those cylindrical shaped foam tubes at your local health club or maybe you’ve witnessed a fellow gym mate balancing and rolling out their quad muscles on them. Foam rolling is not the newest gym gadget out there, but it certainly has become a popular tool—and with good reason. From long rollers to short rollers, from smooth rollers to those with bumps on them—they come in all shapes, sizes, and textures! Some people go nuts over foam rollers, while others have a love-hate relationship with them, and still others have no idea what to do with the strange cylinders. If you’re in the latter bucket, read on to learn why you should make foam rolling a regular occurrence, how to properly foam roll, and how to select the best foam roller for you.
What’s all this Rockin’ and Rollin’ About Anyway?
So how exactly can rolling on this foam filled tube melt away muscle pain? It’s all about working out those adhesions in your muscles. Adhesions or “trigger points” are micro tears in a muscle caused by stress or injury to the muscle fibers. Muscle fibers are meant to glide smoothly against one another to create muscle movement. However, when the muscle has an injury, commonly due to overuse, poor posture, or inactivity, small tears occur. Your body works quickly to repair these tears by creating irregular connective tissue, also commonly called adhesions. Adhesions can cause a muscle to be short and weak, resulting in pain and restricted range of motion—foam rolling to the rescue!
Foam rolling and other self-myofascial release (SMR) techniques can help inhibit, or release, the adhesions, allowing for proper stretching of the muscle. In addition to releasing adhesions, SMR also offers a myriad of other benefits:
Rollin’ the Right Way
It may seem like a no-brainer to just get on that foam roller and roll away your pain, but there are a few pointers to follow so you get the most from this “hurts so good” experience.
Foam rolling can be integrated into your warm-up before a workout to hit trouble spots or do a full body roll on rest days to get a more thorough session in.
Get the Job Done with the Right Foam Roller
If you are new to foam rolling, you’ll want to start out with a soft foam roll and get used to the pressure (and slight pain). Once you’ve mastered the softer variety, make your way to a denser foam roller or even a PVC pipe for more pressure. The rollers with small bumps give more of a gentle massage while large bumps are intended for deep tissue work. If you don’t have a foam roller you can experiment with different types of balls, such as a tennis ball or lacrosse ball, which allows even more precise relief to those knots.
Follow along with our demonstration video as we walk you through different muscle groups to foam roll. The next time you see a foam roller at your gym, give it try! Or for $10-$30 you can get your own foam roll and roll at home! Happy rolling!